Quick Reference
# kill process
$ kill
# hangup process
$ kill -1
# terminate process
$ kill -15
Determining which version of kill your shell is using
When working with kill, the first step is to make sure your shell is running the code you think it is. Both Bash and Zsh shells have their own built-in version of kill that may take precedence over the Linux binary kill. So you may need to run /bin/kill instead of kill in order to utilize the standard-library Linux binary kill; however, the functionality of the shell built-in kill will likely be largely the same.
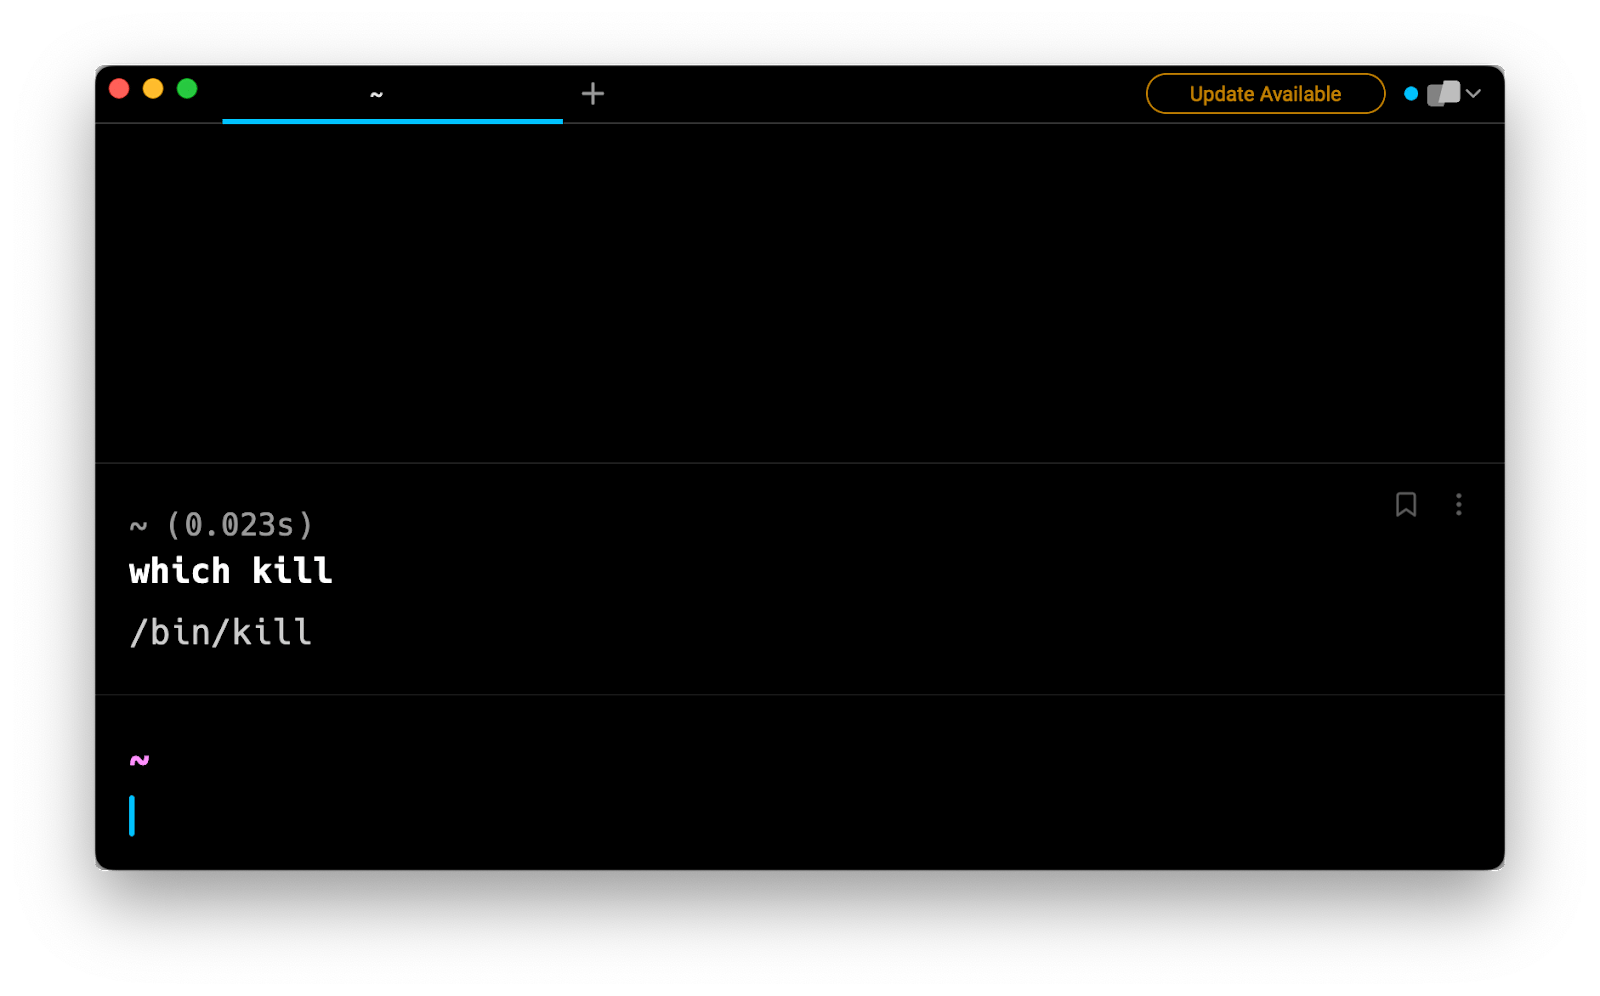
For the rest of this article we will use the syntax kill …, and assume that we are referring to Linux kill. To see which one will be run when you run a kill command, you can run which kill as follows:

Structure of a kill command
The Linux kill command has the following structure:
kill [OPTIONS] [PID]...
kill signals available
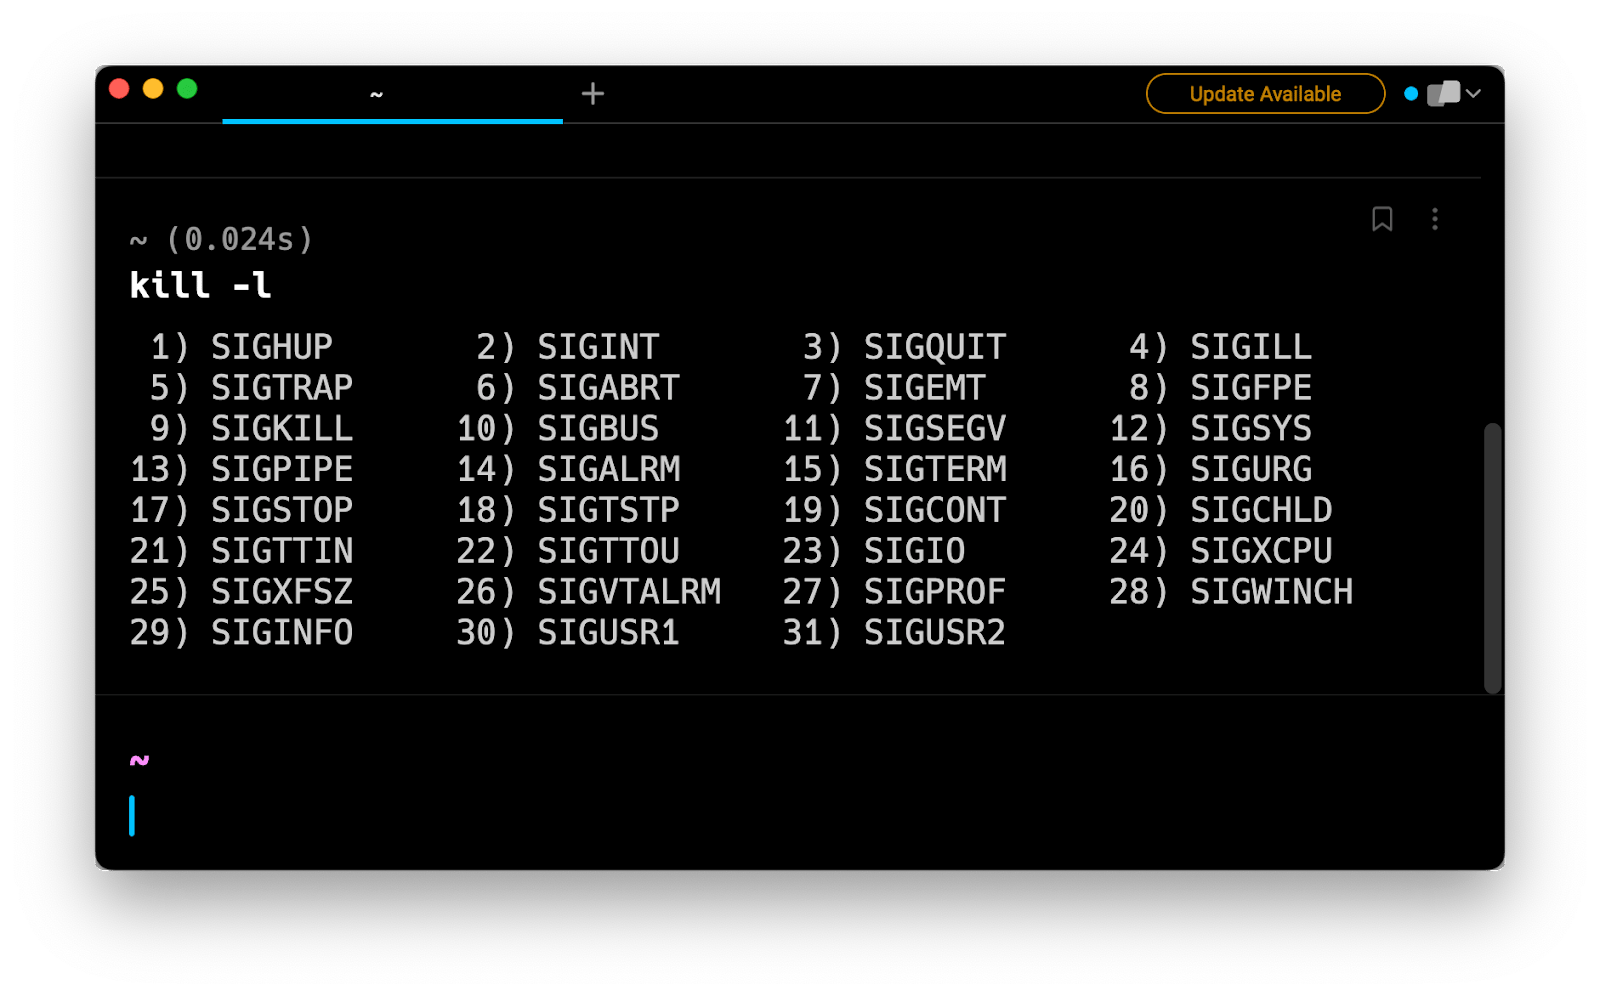
“Options” in the structure above has a number of components, with the most commonly used option being the signal flag. To see a list of the signals available we can run the following in our shell:
kill -l
Each of these signals is also associated with a given number, as again defined in the Linux docs. Depending on the configuration of your shell, you may also be able to run kill -L to see both the signal names and numbers.

Either the signal name or the signal number can be combined with the kill command as follows:
$ kill -9
$ kill -s SIGKILL
$ kill -SIGKILL
$ kill
The signal here (SIGKILL) happens to be the default signal, and will also be used if no specific signal is passed.
kill to check user access to a specific process
SIGNULL (0), checks user access to or validity of a pid without sending an action signal.
$ kill -0
$ kill -s SIGNULL
$ kill -SIGNULL
kill to terminate a process gently
SIGTERM is the “normal” kill signal. The application will be given time to shut down cleanly (save its state, free resources such as temporary files, etc.), and an application that is programmed to not immediately terminate upon a SIGTERM signal may take a moment to be terminated.
$ kill -15
$ kill -s SIGTERM
$ kill -SIGTERM
kill to force termination
SIGKILL can be used to force termination and the application is not given a chance to respond.
$ kill -9
$ kill -s SIGKILL
$ kill -SIGKILL
Determining the PID of a process
The second part of the kill command is the process ID, or “pid”. There are a number of ways we can determine which processes are running and their pid’s, including ps, pidof, and pgrep and top. Which to use will depend on exactly what you are trying to do.
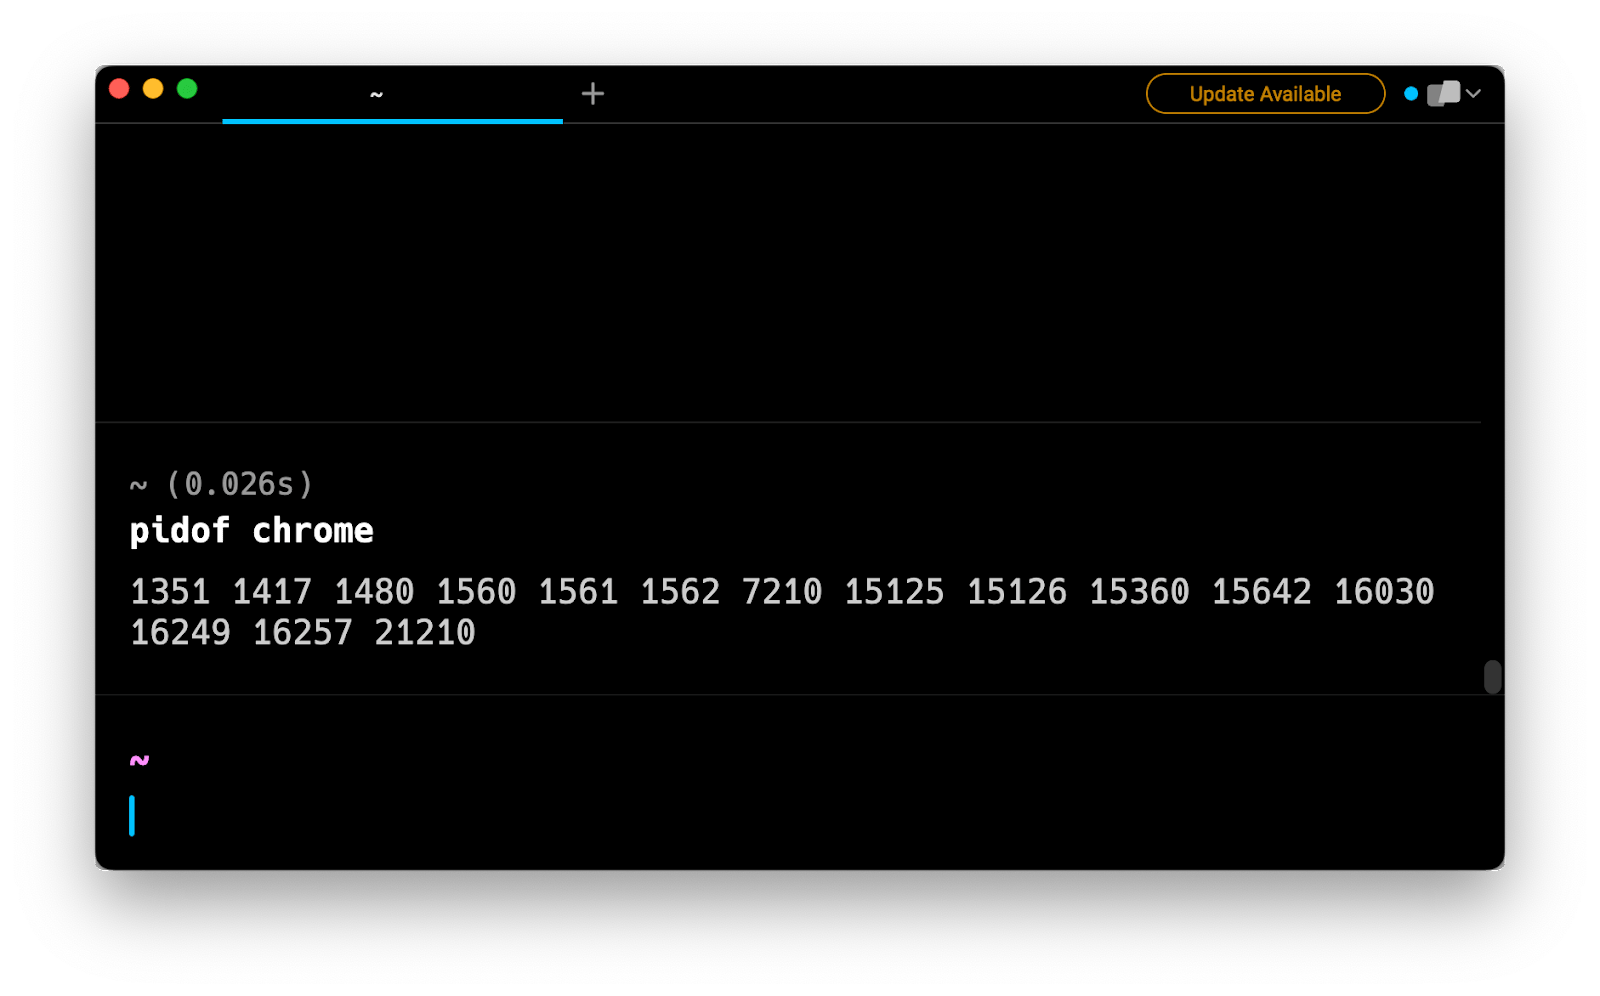
For example, to get the pid of all processes related to Google Chrome you can run the following:
$ pidof chrome

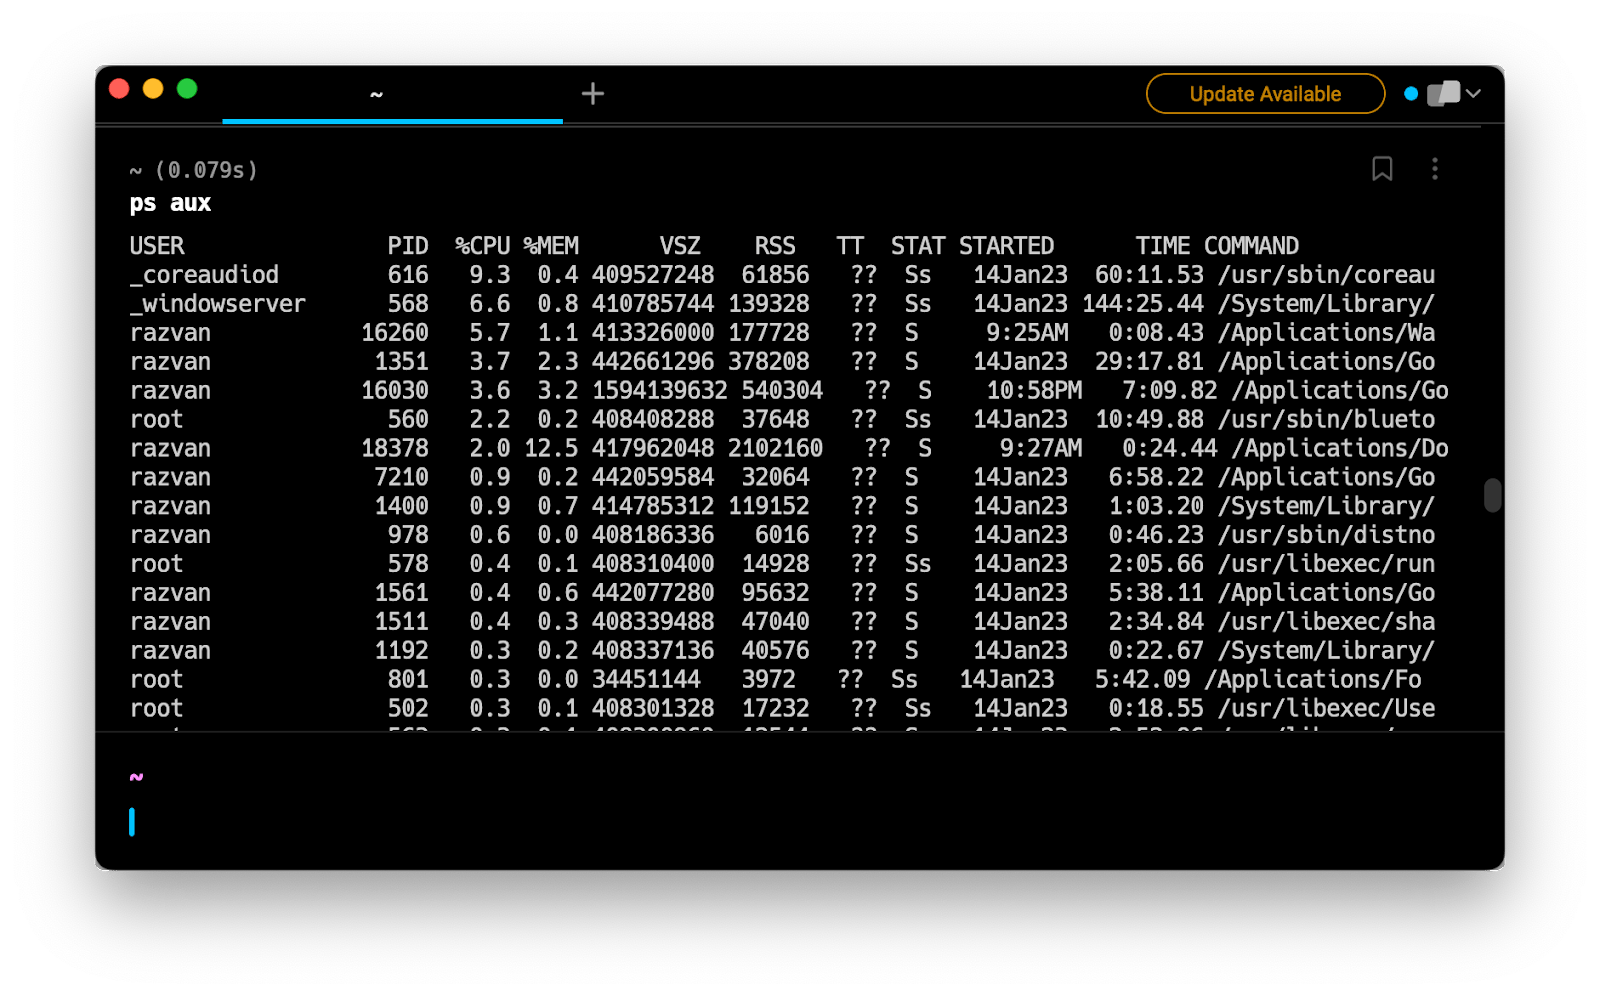
Alternatively, to list all processes running on your machine, consider ps aux or top:

kill -9 -1 terminates all running processes
However, this should be done very carefully; this can cause damage to your kernel depending on what is running on your machine at the time.
Combining kill with pidof
kill is most powerful when combined with other terminal commands. For example, to identify and kill all processes related to Google Chrome we can run the following command:
kill $(pidof chrome)
Overcoming kill permission issues with sudo
If any of kill commands fail one reason might be lack of permissions. Simply re-run the command using sudo and enter your password in order to proceed:
# Careful! Using `sudo` can be dangerous when
# dealing with system processes
sudo kill $(pidof chrome)
Written by

Tom Wagner
Software Engineer, Pinterest
Filed Under
Related Articles
List Open Ports in Linux
Learn how to output the list of open TCP and UDP ports in Linux, as well as their IP addresses and ports using the netstat command.

Count Files in Linux
Learn how to count files and folders contained in directories and subdirectories in Linux using the ls, find, and wc commands.

How to Check the Size of Folders in Linux
Learn how to output the size of directories and subdirectories in a human-readable format in Linux and macOS using the du command.

Linux Chmod Command
Understand how to use chmod to change the permissions of files and directories. See examples with various chmod options.

POST JSON Data With Curl
How to send valid HTTP POST requests with JSON data payloads using the curl command and how to avoid common syntax pitfalls. Also, how to solve the HTTP 405 error code.

Format Command Output In Linux
Learn how to filter and format the content of files and the output of commands in Linux using the awk command.
Create Groups In Linux
Learn how to manually and automatically create and list groups in Linux.
Switch Users In Linux
Learn how to switch between users, log in as another user, and execute commands as another user in Linux.
Remover Users in Linux
Learn how to remove local and remote user accounts and associated groups and files in Linux using the userdel and deluser commands.
Delete Files In Linux
Learn how to selectively delete files in Linux based on patterns and properties using the rm command.
Find Files In Linux
Learn how to find and filter files in Linux by owner, size, date, type and content using the find command.
Copy Files In Linux
Learn how to safely and recursively copy one or more files locally and remotely in Linux using the cp and scp command.
