Introduction
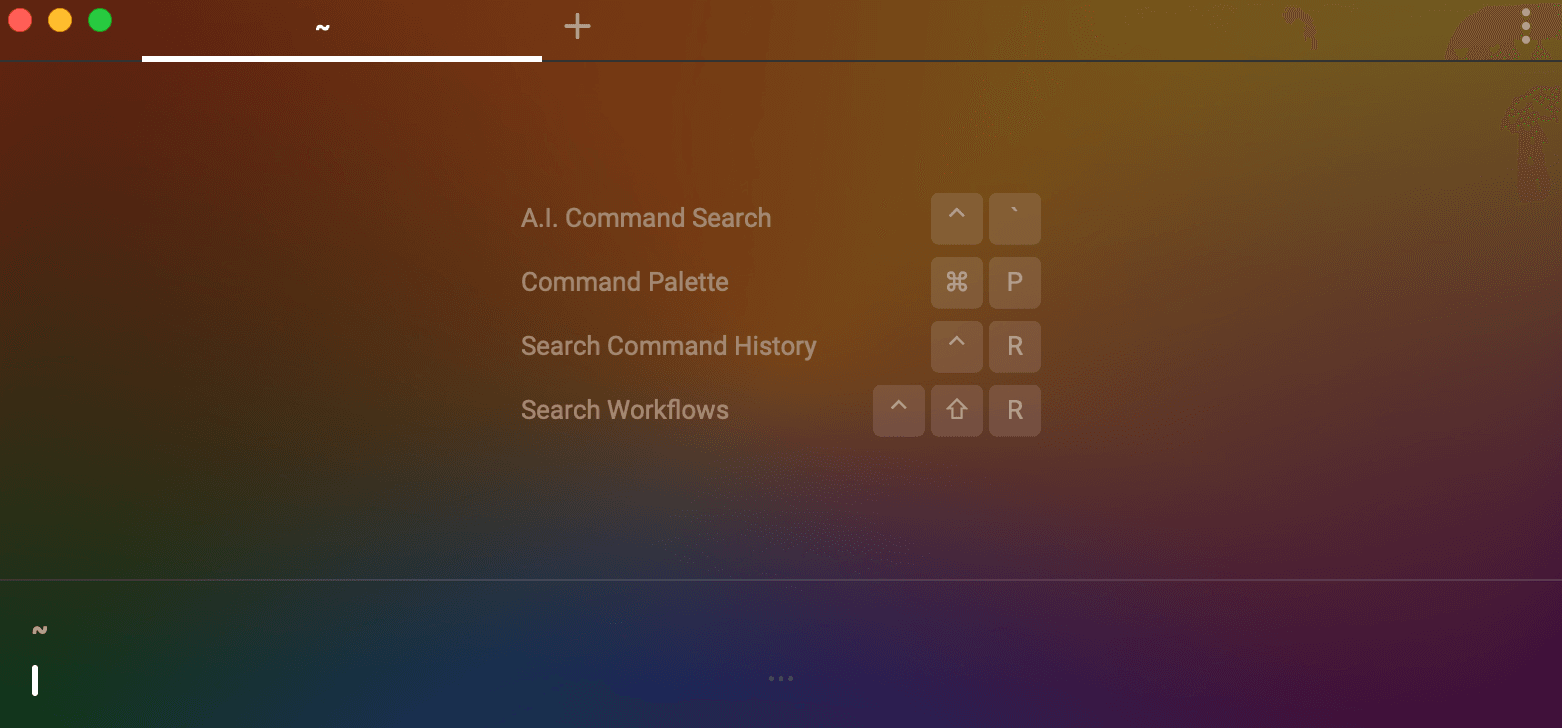
In my high school days, I was obsessed with switching out the themes of my terminal. It was cool that I was able to customize a tool that, for the most part, isn’t the most advanced in terms of user interface. It was also a nice way to subtly showcase my personality and hobbies, similar to a poster I might tape up in the wall of my room. For many years, my terminal wallpaper was the famous meme of Saitama from One Punch Man (if you know, you know).
In this blog, I am going walk you through how to customize your terminal to Warp’s pride theme in honor of pride month.
How I Customized My Terminal to Use Warp's Special Pride Theme
For context, Warp has an open source repo for its theme extension point, meaning anybody can contribute themes that you can then download into your local version of Warp. There are two options:
Option 1: Downloading the specific theme you want.
This option will take about 1-2 minutes to set up. The video below shows how I download the specific pride.yaml file and pride background image into my local Warp directory.
- Run
mkdir -p ~/.warp/themes - Run
cd ~/.warp/themes - Run
mkdir holiday - Run
vi pride.yaml.A blank .yaml file should show up in your terminal - Copy paste the contents of pride.yaml in the open source repo to the pride.yaml file you just generated locally
- Press
:wqto save the contents of your pride.yaml file and quit - Download the pride_bg.jpg image from the open source repo, make sure to name it "pride_bg.jpg"
- Run
cp ~/Downloads/pride_bg.jpg ~/.warp/themes/holiday - Quit Warp and then open it back up
- Go to Settings > Appearance > Choose the theme you just added
Option 2: Downloading the entire themes repo locally.
This option is faster, but you will end up with all the themes in the open source repo. The video below shows how I cloned the themes repository into my local Warp directory.
- Go to the open source themes repo home page
- Press on the "Code" dropdown and copy the HTTPS link to the git repository
- Run
git clone <Insert HTTPS link that you just copied> - Wait a few seconds for it to finish running
- Quit Warp and then open it back up
- Go to Settings > Appearance > Choose the theme you just added
References
We hope this tutorial helped.Below, we'll include links to everything you need to get started.